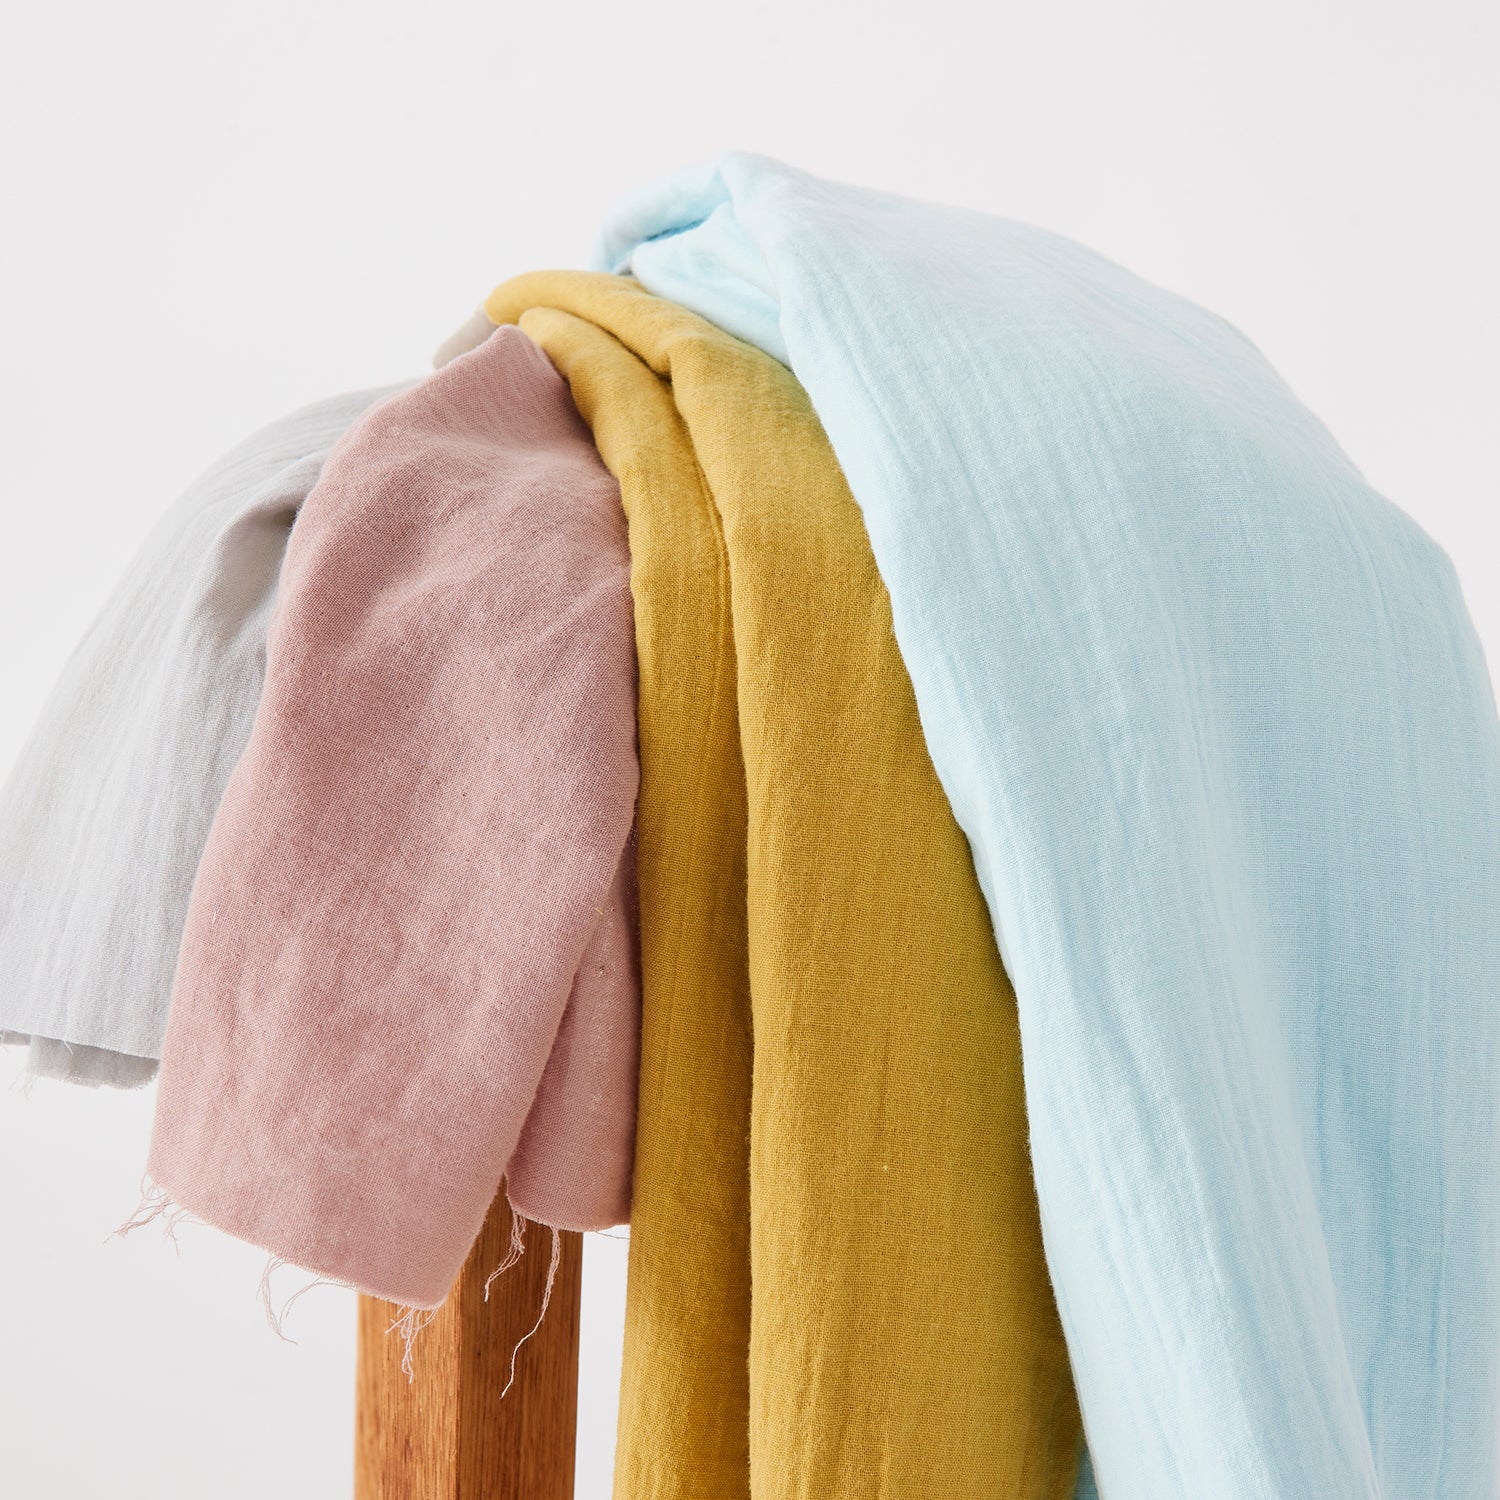
This is a drawstring bag that makes the most of the softness of double gauze. The featured fabric is a doughnut pattern from the “MUDDY WORK” series. The doughnuts, drawn with a soft and gentle touch, look like randomly arranged dots or flowers. The more you wash this double gauze, the softer it becomes, and it is perfect for baby items, handkerchiefs, pajamas, pillowcases, and other items that come in contact with bare skin.


Instructions Sample

Design & Work: Mioko Sugino
Materials:
- Bag Panel, Shoulder Strap, Drawstring: 70cm×1m
- Bag Lining, Opening Fabric: 90cm×80cm
Size: 34cm (l) 40cm (w)
We interviewed Mioko about her creation:
Kokka Fabric (KF): What did you think of the fabric you used for this project?
It looks and feels soft and comfortable to hold! I wanted to make a bag that would be cozy to carry, and I designed this bag to take advantage of that comfort.
KF: Can you tell us any special elements or ideas that you incorporated into this creation?
In order to make use of the soft impression of the double gauze fabric, and at the same time to make the bag solid enough to be used as a bag, I used an oxford material for the lining and opening fabric. Double gauze is used not only for the main body of the bag, but also for the handles and drawstring to create a soft and gentle feel.
KF: What are some tips for making this bag?
The making process only requires simple straight stitching, so even beginners can try it with confidence. When sewing the folded down part of the top opening fabric (the part where it becomes the opening for inserting the drawstring), align the folded portion along with the stitch line that you sewed first, so the stitch will not be revealed on the lining side, and you will get a beautiful finish.
KF: How should we incorporate this bag into one’s styling?
You can carry it with pale gray or white-colored outfits for a bright one-tone look, or you can use it with all black styling as an accent. Switching the gauze drawstring to a rope is another way to enjoy this bag.
KF: Thank you very much, Mioko! Here are sewing instructions along with step by step photos from her. Enjoy crafting!
Instructions
Preparation: Cut the fabrics based on the pattern.

1. With the front sides facing each other, sew together the short ends of the outer and lining fabrics at 1cm from the edge and press the seam open.

2. Fold the piece by aligning the stitched ends and sew the side. Leave an opening for turning on the lining fabric.

3. Turn it inside out using the opening for turning and close the opening.

4. Place the lining bag inside the outer bag.

5. Fold the shoulder strap in four and sew both long ends.


6. Align the center of the shoulder strap with the center of both sides of the bag and baste the strap.

7. Fold the short ends of the opening fabric in three and apply stitches.

8. With the front sides facing each other, align both ends of the opening fabric with the front center of the lining side of the bag. Sew all the way around.

9. Pull the opening fabric upward, fold the top end for 1cm to the lining side, then fold in half and sew.


10. Fold the perimeter of the drawstring fabric for 1cm first. Fold in half and apply stitches in a square manner.


11. Insert the drawstring from step 10 and tie both ends once.


Recommended Fabric
The PDF download is below!


