
Project: Baby Set (Baby Blanket, Bandana Bib, Bloomers)
Welcome to our latest crafting adventure where we will dive into the enchanting world of baby gifts! If you're looking to create a heartwarming and personalized present for a precious little one, look no further.
In this blog post, we'll guide you through the delightful process of crafting a delightful baby gift set, complete with a bandana-shaped bib, a snuggly baby blanket, and adorable bloomers adorned with charming ruffle detailing. The icing on the cake? We'll be working with soft and breathable double gauze fabric, ensuring both comfort and style for the little bundle of joy.
So, let's gather our creative spirits and dive into this rewarding project, guaranteed to bring smiles and warmth to both babies and parents alike!
Materials:
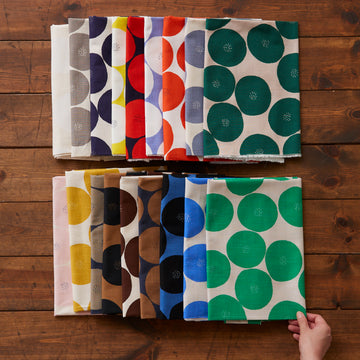
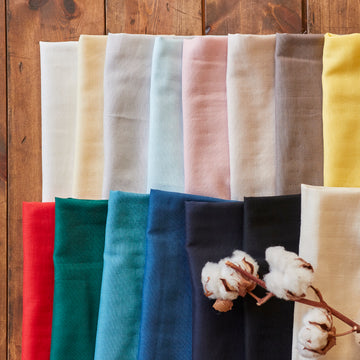
- Nuno to Mono 100% Cotton Triple-Washed Double Gauze in Color B
- Baby Multi-Use Blanket (2 pieces): 32” x 42” (H)
- Bandana Bib (2 pieces): 14” x 11” (H)
- Bloomers with Ruffles (2 pieces): 14” x 9” (H)
- Ruffles for Bloomers (1 piece): 40” x 3” (H)
- ½ inch elastic (for bloomers waistband): 18”
- ½ inch elastic (for bloomers leg): 8” x 2 pieces = 16”
- Metal Snaps or Plastic Snaps
- Ballpoint Needle Size 9 or Stretch Needle
- Pinking Scissors
Preparations before Cutting and Sewing:
- Always pre-wash fabric to account for fabric shrinkage when cutting fabric.
- When sewing on an elastic waistband, change your machine needle to a ballpoint needle or stretch needle. Regular needles will skip stitches when used on elastics.
- When dealing with double gauze fabric, use pinking scissors when cutting to avoid fabric from easily fraying.
Seam Allowances:
½” for all seam allowances
Easy to Sew Baby Blanket
- Cut two pieces of 32” x 42” from double gauze fabric. Face the right sides together. On the wrong side of the fabric, measure ½” from the edge of the fabric on all sides. This will serve as your seam allowance.

- Pin sewing allowance on all sides.
- Leave 6” open on one side to leave space for turning fabric inside out to the right side.

- Sew on a marked line. Start sewing from corner to corner. Do not sew until the edge of the fabric. Pivot when you reach one corner.

- After sewing all sides, cut a diagonal line across the seam allowance of all corners. Trim seam allowances to ¼”.

- Turn fabric inside out to the right side from the 6” side opening.

- Make sure all corners are pointed out.

- Close the 6” side opening. And pin sides to prepare fabric for topstitch.

- On the right side of the fabric, topstitch ¼” away from the edge. Sew from one edge of fabric to the other end.

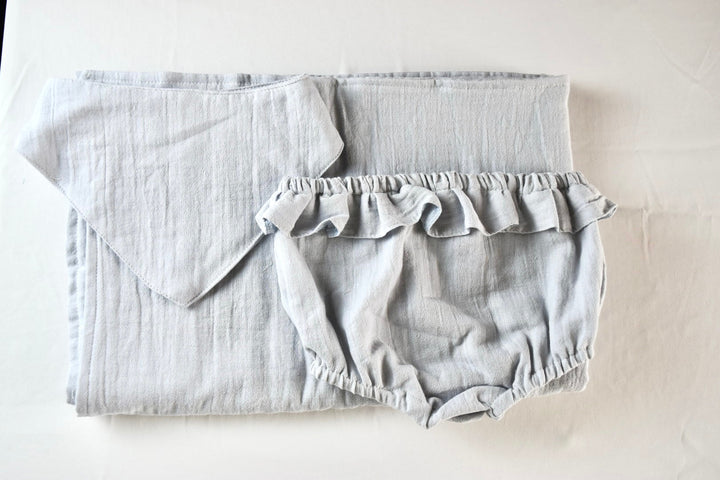
Finished Blanket:

Baby Bandana Bib

- Cut pattern pieces from double gauze fabric.
- Put right sides of fabric together and pin sewing line.

- Sew on a marked line and leave around 2” open for flipping fabric to right side.

- Trim seam allowances.

5. Turn fabric inside out.

- Make sure curved corners are round and pin the open side. You can also opt to pin sides to make sure fabric is even when sewing.

- Topstitch 1/8” from the edge of the fabric. Topstitch on all sides.

- Attach metal snaps to finish bandana bib. You may also choose to attach plastic snaps. When attaching metal snaps, make sure to securely fasten with stitches.


Finished Bib

Baby Bloomers with Ruffles
- Cut pattern pieces from double gauze fabric.

- Put the wrong sides of fabric together. Pin side seams.

- Sew side seams together. Finish all seam allowances.

- On the fabric for ruffles, mark two sewing lines ½” separate from each other. Sew a straight stitch on these two lines. Adjust stitch length to the longest one for easier pulling.

- Pull on the stitched thread to create ruffles. Pull until you reach the length of waistline measurement.

- Sew side seams together and fold edge of ruffle fabric by ¼” towards the wrong side of fabric to hide seam allowance.

- Topstitch 1/8” from the edge of pinned fabric to finish the ruffled fabric.

- Attach the wrong side of ruffle fabric to the right side of bloomers. Baste ruffle fabric to the waistband of bloomers.


- Fold the seam allowance and stitched lines for ruffles towards the wrong side of fabric. Pin the right side of the ruffle ½” from the edge.


- Topstitch ½” away from the edge of ruffle fabric to create casing for elastic waistband.

- Leave 1”-2” open to insert an elastic waistband. To see steps on how to insert an elastic waistband, see article on Wide Leg Pants or Peter Pan Collar Puff Sleeves. Close the opening once done inserting elastic waistband.

- Create casings on the leg openings for inserting elastic. From leg seam allowance, fold towards the wrong side ½” of fabric. Do this twice and pin in place. Repeat on the other leg.


- Topstitch ½” away from edge of folded fabric. Leave around 1”-2” open for inserting elastic.


- Once elastic has been inserted around the leg opening, sew the opening.

Finished Bloomers:


We hope this tutorial has inspired you to create a truly heartfelt and memorable gift for the precious babies in your life. Handcrafting a baby gift set from double gauze fabric not only adds a personal touch but also ensures comfort and joy for the little ones. The love and care poured into each stitch will undoubtedly be appreciated by both parents and babies alike. So, grab your sewing kit, unleash your creativity, and embark on this delightful journey of making cherished keepsakes that will be treasured for years to come. Happy crafting!